How to use DALL-E in Laravel

A few days ago OpenAI announced the public release of DALL-E, a new AI model that can generate images from text descriptions. In this article I will show you how to use DALL-E in Laravel.
As an example we are going to create a simple application to generate colouring pictures for kids containing the provided objects.
This is a follow-up to my previous article on how to use the OpenAI PHP Client in Laravel.
All the source is available at GitHub.
Install the OpenAI PHP Client
Install the package via composer ...
composer require openai-php/client
... and register the client in the AppServiceProvider
public function register()
{
    $this->app->singleton(Client::class, function ($app) {
        return OpenAI::client(config('app.openai.api-token'));
    });
}
Create the GUI
Before we can actually use the client we have to set up a litte demo application. In this example we only need a single input to collect the prompt ending and a place where we can show the resulting image.
As I like to work with Laravel Livewire I am going to use it. If you are not familiar with Livewire, don't worry, you will be able to follow along.
First we create a Livewire component which has two public properties to store the prompt ending provided by the user and the resulting image url.
<?php

namespace App\Http\Livewire\Pages\Playground\OpenAI;

use Livewire\Component;

class ColouringPictureGenerator extends Component
{
    public string $url = '';
    public $promptEnding = '';

    public function render()
    {
        return view('livewire.pages.playground.openai.colouring-picture-generator')
            ->layout('components.layout.main', [
                'title' => 'Colouring Picture Generator',
            ]);
    }
}
Then we need to create the blade file to actually render the output. For a better readability I have removed all the tailwind classes.
<div>
    <!-- Form to capture the keywords -->
    <p>A simple colouring picture with ...</p>
    <form wire:submit.prevent="generate">
        <input wire:model.defer="promptEnding"
               type="text"
               placeholder="a dog and a cat."
        >
        <button type="submit">Generate</button>
    </form>

    <!-- Place to show the generated output -->
    @if($url)
    <h2>Your colouring picture</h2>
    <div>
        <img src="{{ $url }}" alt="Generated colouring picture">
    </div>
    @endif
</div>
Use the AI power
As you can see in the blade file we have created before, we are going to call the generate() method on the Livewire component as soon as the user submits the form: wire:submit.prevent="generate"
Let's add the generate() method to our ColouringPictureGenerator component:
class ColouringPictureGenerator extends Component
{
    // ...

    public function generate()
    {
        $aiClient = resolve(Client::class);

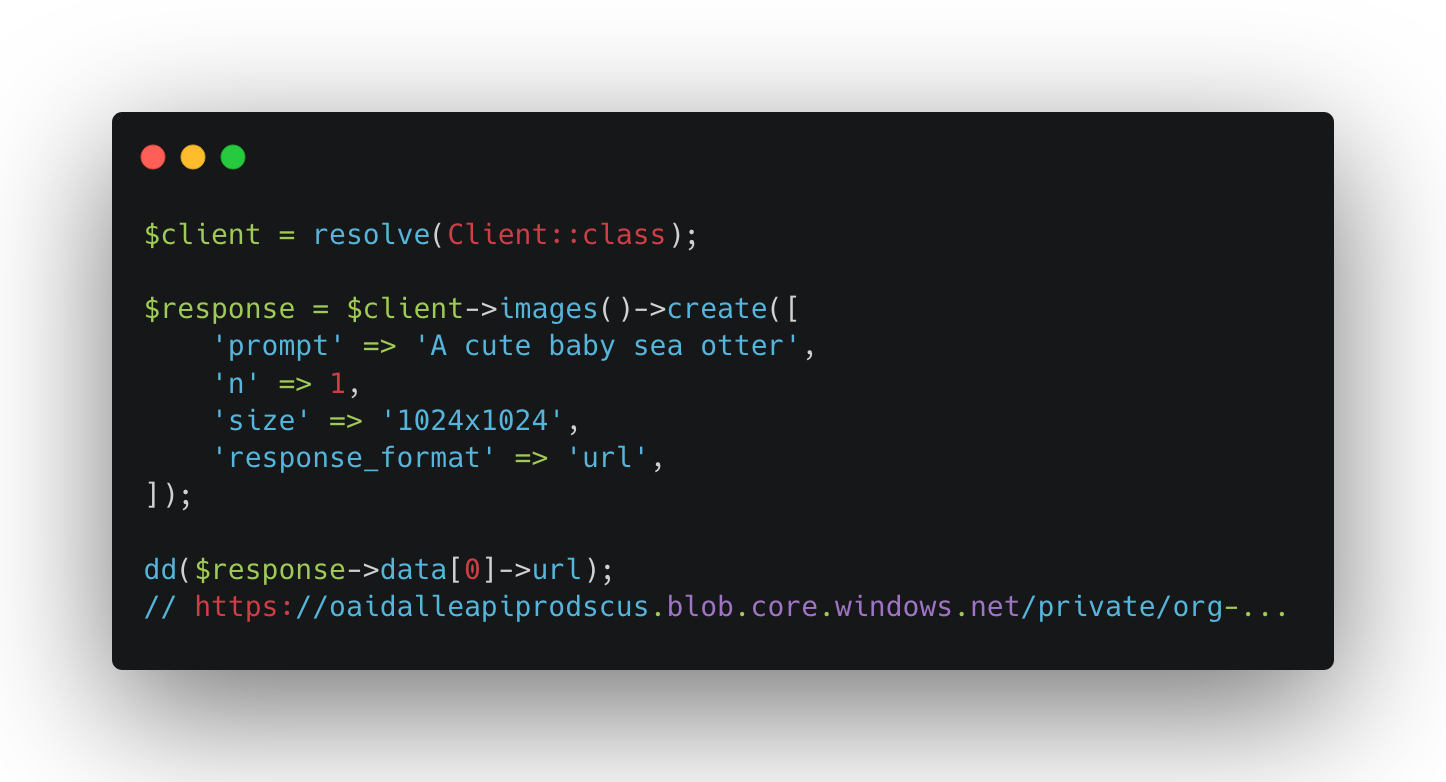
        $result = $aiClient->images()->create([
            'prompt' => 'A simple colouring picture with ' . $this->promptEnding,
            'n' => 1,
            'size' => '512x512',
            'response_format' => 'url',
        ]);

        $this->url = $result->data[0]->url;
    }
}
That's all we have to do. And here are the detailed explanations:
1. Resolve the client from the Laravel service container
$aiClient = resolve(Client::class);
2. Call the OpenAI image creation endpoint
$result = $aiClient->images()->create([
    'prompt' => 'A simple colouring picture with ' . $this->promptEnding,
    'n' => 1,
    'size' => '512x512',
    'response_format' => 'url',
]);
In contrast to the text manipulation endpoints, there is only one model provided by OpenAI. Therefore, we don't have to include it into our request.
Then we create a prompt describing how the image should look like, which we pass to the AI. As OpenAI trained with natural language it's best in understanding natural sentences and not just keywords.
n instructs the AI how many images it should generate. In this example we only want one.
size defines the size of the generated image. The currently supported values are 256x256, 512x512 and 1024x1024.
response_format defines the format of the response. The currently supported values are url and b64_json. url returns a signed url to the generated image which is valid for 2 hours. b64_json returns the image as base64 encoded json.
If you are not happy with the generated image you can simply call the generate() method again and the AI will generate a new image. If the result is still no what you expect you could try to improve the prompt.
3. Get the image url from the response
$this->url = $result->data[0]->url;
If you like to get the original response from the API you can call the toArray() method on the response object.
{
  "created": 1664136088,
  "data": [
    {
      "url": "https://oaidalleapiprodscus.blob.core.windows.net/private/...",
    }
  ]
}
Restrictions
OpenAI currently only supports generating rectangular images with a resolution of 256x256, 512x512 or 1024x1024.
When providing an image to edit or create variants (see below) the API only accepts rectangular PNGs with a maximum file size of 4MB.
I am curious to see when OpenAI will overcome these restrictions.
Keep in mind, that AI is still in beta and the API is subject to change. As soon OpenAI releases a new version of the API, the PHP client will be updated accordingly. Follow me on Twitter to get notified about changes to the client or the API itself.
There is more
The OpenAI API has two more endpoints to manipulate images which both are covered by the OpenAI PHP Client.
1. Edit Images
It can edit or extend a given image (parameter image) when provided with a prompt describing the desired result (parameter prompt) and a masking image whose fully transparent areas indicate where the image should be edited (parameter mask).
$response = $aiClient->images()->edit([
    'image' => fopen('image_original.png', 'r'),
    'mask' => fopen('image_mask.png', 'r'),
    'prompt' => 'A sunlit indoor lounge area with a pool containing a flamingo',
    'n' => 1,
    'size' => '512x512',
    'response_format' => 'url',
]);

dd($result->data[0]->url);
// https://oaidalleapiprodscus.blob.core.windows.net/private/...
2. Create image variants
It can create variants of a given image (parameter image).
$response = $aiClient->images()->variation([
    'image' => fopen('image_original.png', 'r'),
    'n' => 1,
    'size' => '512x512',
    'response_format' => 'url',
]);

dd($result->data[0]->url);
// https://oaidalleapiprodscus.blob.core.windows.net/private/...
More about the OpenAI PHP Client package
If you want to learn more about the package and how to use it, visit the GitHub repository.
